 Welcome to step two
(or step one if you choose to try and polish up your engine with it still in your bike). For you, you will have the joy of removing the hard clear coat with this method while the rest of you will go to work on the soft aluminum that was waiting underneath. I do have some tips for folks working to sand off the clear versus using chemicals, but that will have to wait ’til a future post. Or, drop me a note and I’ll tell you what I know.
Anyhow, let’s get started …
Now that the clear is removed it’s time to perfect the metal underneath. Here’s what you’ll need for removing oxidation (the black splotches) and smoothing minor scratches:
- Medium Grid Scotch Brite Pad (or similar)
- 400 grit wet sanding paper
- 800 grit wet sandpaper (NOTE: Personally I prefer not to polish to a mirror finish. If that’s your thing, you will want to add two more sanding steps before polishing 1200 grit and 2000 grit)
- Spray bottle filled with water
- A big absorbent bath towel. You’re going to probably destroy it, so one that’s old and your wife doesn’t love is best
- Inexpensive leather work gloves (You may destroy these too, but they’ll keep you from screwing up your fingers banging into stuff as you sand)
- Soft sanding block (Optional, but helpful). It’s a flat piece of foam or rubber you wrap the sandpaper around
- Never-Dull polish
If you have deep scratches you want to remove you may also need:
- A half round metal file. Not too aggressive
- 120 grit wet sandpaper (NOTE: Sometimes it’s best to leave or “soften” the look of deeper scrapes versus trying to removing them completely. I don’t have any general rules except that if you removing the scratch entirely is going to change the shape of the metal, you might be creating more of an eyesore than the scratch you’re trying to fix.
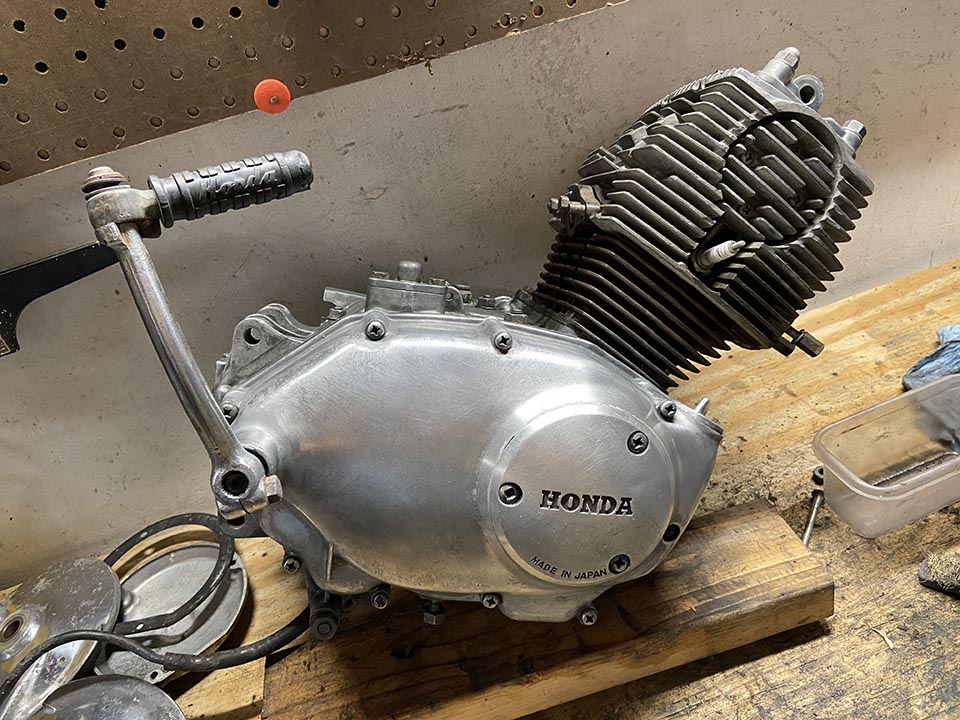
First: Wrap your towel around the base of your engine.
It will absorb all of the water you spray onto the engine during wet sanding. Otherwise you’re going to make a mess and get wet
 Second: Start with your a large, smooth part of your engine.
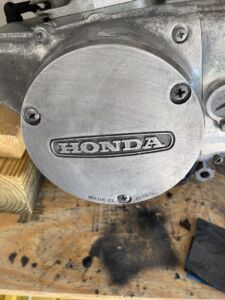
I like to start with the stator cover usually. Why? You’re going to start seeing results right away. And, it will look so good that it will make you want to get into all of the fingertip busting nooks and crannies. Spray the engine and the paper and begin sandign. Using a sanding block will help you keep your surface flat as you remove material. There will be a moment where you remove all of the ugly blotches from years past and you’ll start to see new black specs in the metal. I’m not sure what they are, but they’ll disappear in the polishing step. You won’t be able to remove them all just by sanding. Sand all of the big easy sections and then go to the more difficult spots until all of the old corrosion and small scratches are gone. Use your spray bottle to rinse off the aluminum grime. Repeat with the process with the 800 and your motor should look pretty good. If you want to get a mirror shine, repeat the process with the 1200 and 2000.
Third: tackle the rough surfaces
So, this part is up to your personal preferences. The top of your engine might be painted. The paint looks almost exactly like when the paint is removed. I like to remove it, but you might prefer to respray it. That’s your call. If you want to clean and or strip it, that’s where the Scotch Brite Pad comes in. It will allow you to get into the rough texture without having to sand or grind it smooth — which, by the way will turn you completely insane.
Fourth: treat the raw aluminum
Usually at this point my fingers are tired and I’m out of elbow grease and I want to take a break. If that’s not you and you want to finish, skip this step and go to the Step 3 post. Me, at this point I like to grab a can of Never Dull. It’s interesting stuff. I don’t know how it works, but it’s a nice product to keep on the shelf for lots of reasons. Anyhow, I grab the whole wad of cotton in the can and give the motor a good rub down. Remember all of those little black specks you couldn’t sand off, well this will either remove or convert them to clean metal. After a while it will dry, leaving a hazy finish. You can buff that off to enjoy the beginnings of a shine on the motor.
A couple of Notes:
First, you’re going to find some spots of clear coat that didn’t come off with the chemical stripper. They should come off easily with 400 grit. Second: you’re going to want to lean your engine so that you can get to the bottom of the engine. Use some scrap wood to keep it from falling or rolling off your bench. Now, I don’t polish the bottom of the engine, but I for sure want it to be clean — even if nobody’s going to see it.


